Using GTK with Python: Part 1 Getting Started
Introduction⌗
Before we jump in, it’s important to know the motivation for this series. I have a Python script that I use for light financial planning, such as tracking my bills, subscriptions, and income. The script is pretty simple, but I’ve always wanted to make it a bit more user friendly by adding a GUI (currently you just hard code new transactions into a file, but hey it does the job). That being said, I will be writing this series along side making the GUI as well as open sourcing the application as the series progresses. Now that that’s out of the way let’s get started.
Setup⌗
First things first, you need to setup your development environment. I’m primarily developing on a Mac so I will be using pyenv with pyenv-virtualenv and installing the dependencies with Brew. So for me it’s a simple process:
mkdir <project-name> && cd <project-name>
pyenv shell 3.7.5   #Optional: set pyenv version if not already set.
pyenv virtualenv <venv-name>  #Create new virtualenv for the project.
brew install pygobject3 gtk+3 pipenv
pipenv --python 3
pipenv install pycairo
pipenv install pygobject
pipenv shell
If you are using Windows or any of the various distro’s of Linux there are instructions for PyGpObject here. Also make sure to follow up with these instructions to complete your dev environment.
Hello World⌗
Now that we have our development environment up and running, in a new .py file add the following lines of code.
Firstly we import the GTK module gi, require the specific version of GTK that we will be using (this is because you can have multiple versions of GTK installed at a time), and import the Gtk class as it will be our primary way of creating and interacting with the GUI.
import gi

gi.require_version("Gtk", "3.0")
from gi.repository import Gtk
Now we will create a window that we can start placing UI components in.
win = Gtk.Window()
With our main window established we now have options for configuring what actually renders to the screen. This includes:
- Resizing the window
- Adding components
- Connecting to events
And connecting to the destroy event is just what we will do. This allows us to ensure that when we click on the “X” in the application, that it closes.
win.connect("destroy", Gtk.main_quit)
We also must tell the window to show our components.
win.show_all()
Lastly, we start the main GTK+ loop.
Gtk.main()
Start your application by running python <file-name>.py
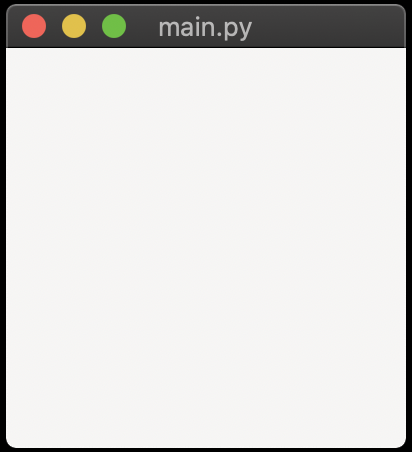
If our environment has been setup correctly we should see something like this:
If you get an import error refer back to the second part of the setup.

Now while this isn’t super useful, it’s a great place to start building.
That will wrap up the first part of the multi-part series Using GTK with Python. Next we will start adding components as well as converting our currently very linear program into a more robust and maintainable class based solution.